Once you’ve selected the SOP from the list, it’s time to perform the procedure step-by-step. This section explains how you can execute or conduct a Standard Operating Procedure (SOP) using the app.
- Select and Start the SOP
- On the SOP screen, you’ll see a list of available SOPs
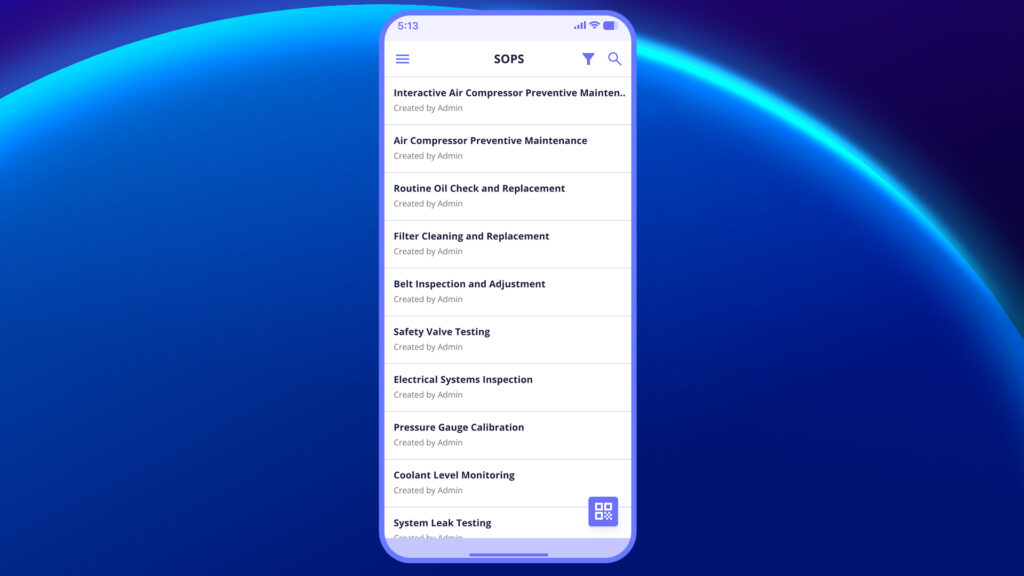
- Tap on the desired SOP to begin.
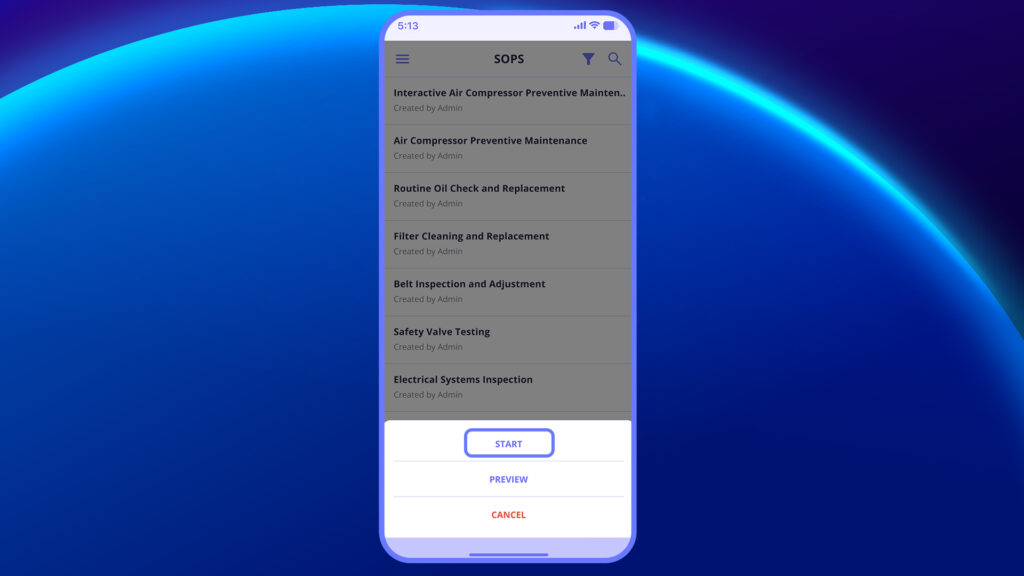
- You’ll be taken to a details screen where you can view: Job Name, Job ID, Site, Asset, Category, Description
- Tap on Start SOP to begin the procedure
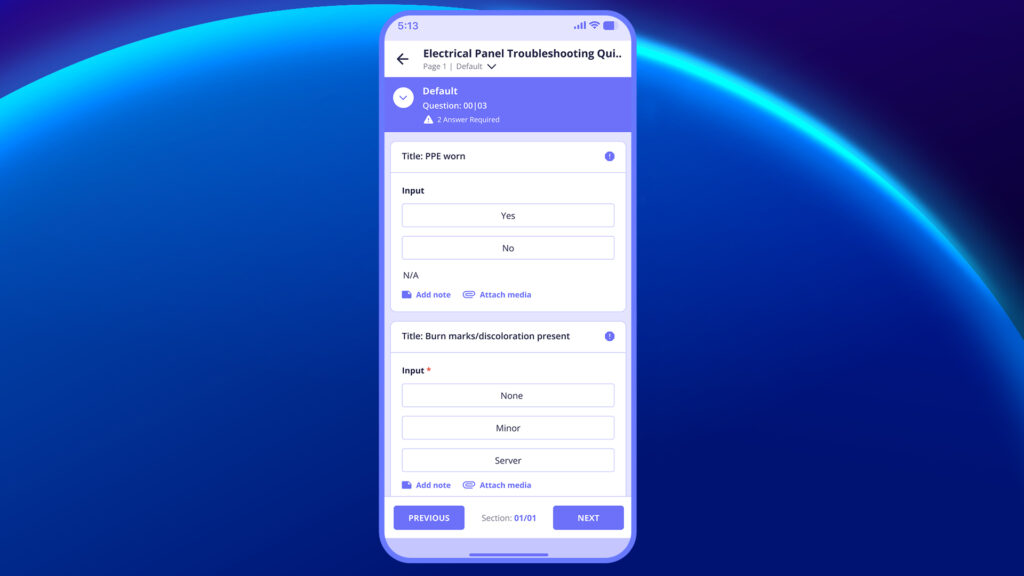
2. Follow the Steps One by One
Once started, the SOP will walk you through each step defined by the creator.
Each step may contain:
- A title (can be untitled if not configured).
- Video instructions or image attachments.
- Text fields to enter short or long responses.
- Add Notes and Attachments options.
3. Navigate to the Next Step
- After completing each step, swipe or tap the right arrow (>) to move to the next step.
- If there’s a mistake or you need to revisit something, tap the left arrow (<) to go back.
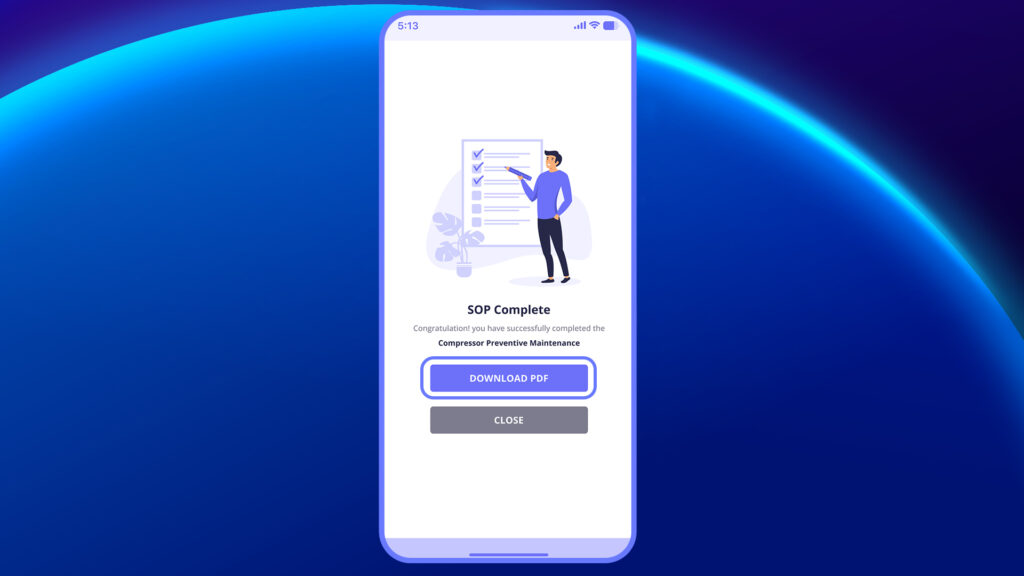
4. Complete the SOP
Once all steps are completed:
- You’ll see a confirmation screen showing “SOP Complete”.
- Tap CLOSE to exit and save the SOP.
See this video to understand how to complete each step and submit the SOP properly.