Follow the steps below to schedule a session:
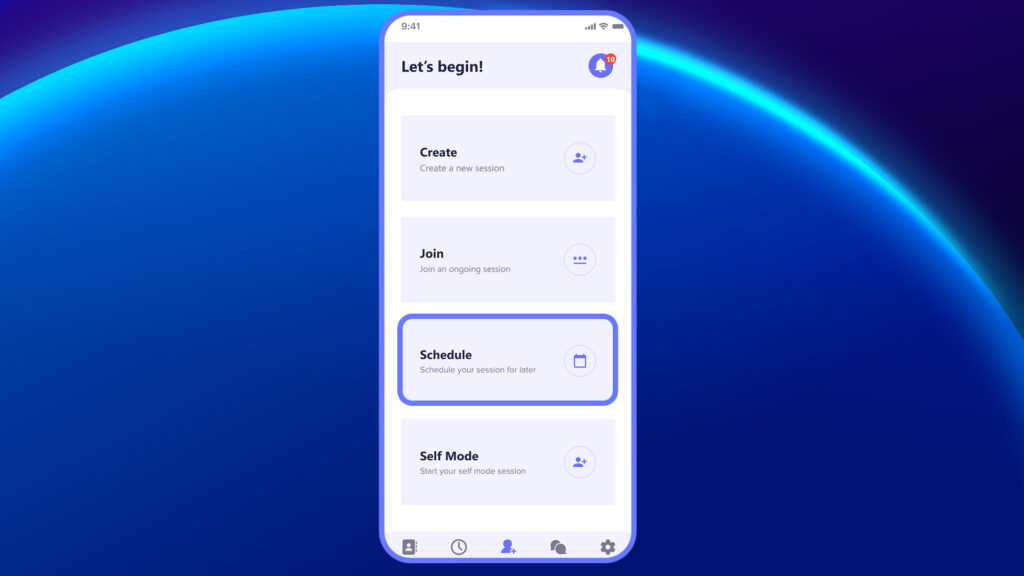
- Tap Schedule on the Dashboard
From the main dashboard, tap the Schedule option to begin setting up your session.
2. Fill in Session Details
- Session Title
- Description or purpose of the session
- Date & Time for when the session should start
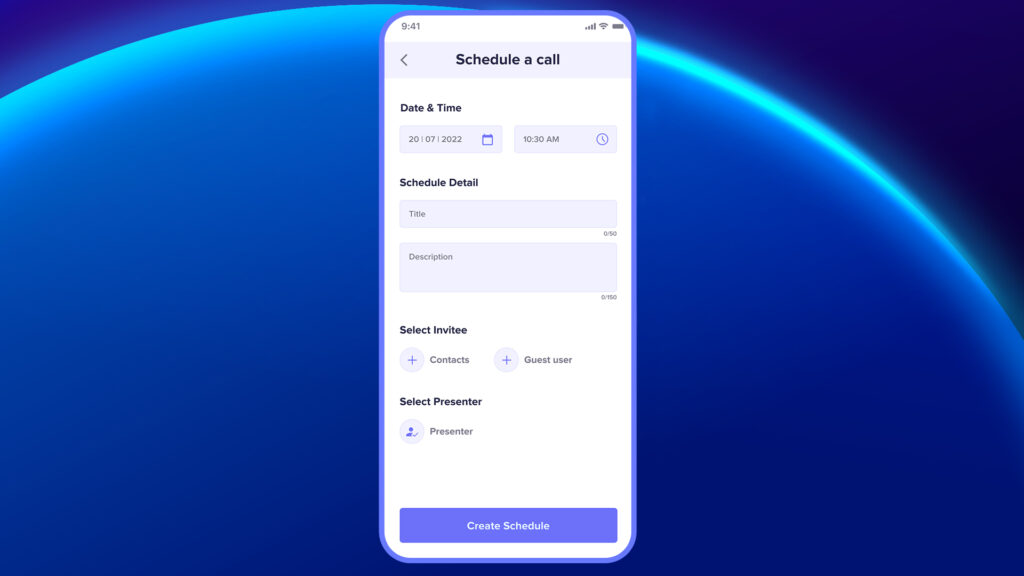
3. Select Invitee
You can invite attendees in two ways:
- Select from existing contacts (saved users)
- Enter guest user details manually (email)
4. Select Presenter
Choose the presenter who will lead the session.
All participants’ names will be displayed in a drop-down menu. Choose the presenter from the list.
5. Tap Create Schedule
Once all fields are filled and participants are added, tap Create Schedule to finalize.
- The session will now appear in your Upcoming Sessions list.
- Participants will receive an email notification with the session details and join instructions.
In case of a licensed user, they will also receive a notification on the application about the scheduled call
The scheduled call will also appear in the “Schedules” section under “Upcoming Calls.”
Note #
- The presenter cannot be changed after the call begins. However, it can be edited from the schedule until just before the call starts.
- During the scheduled session, the presenter must log in using a mobile, Tablet, or a Smart device. Please note that a laptop without a back camera cannot be used for the presenter
Insert Video: How to Schedule a Session


