Steps to Create a Job: #
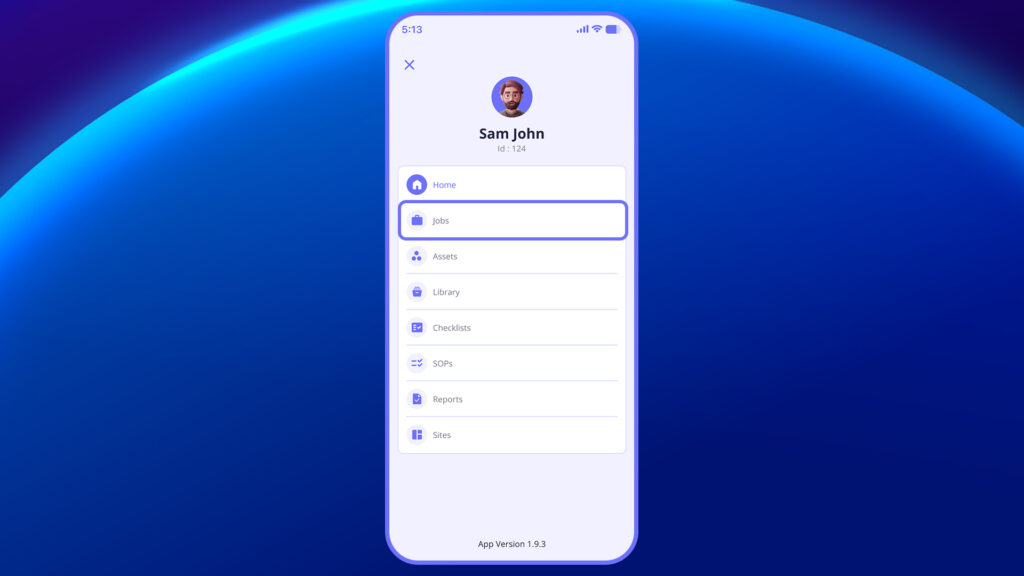
- Go to the Jobs tab.
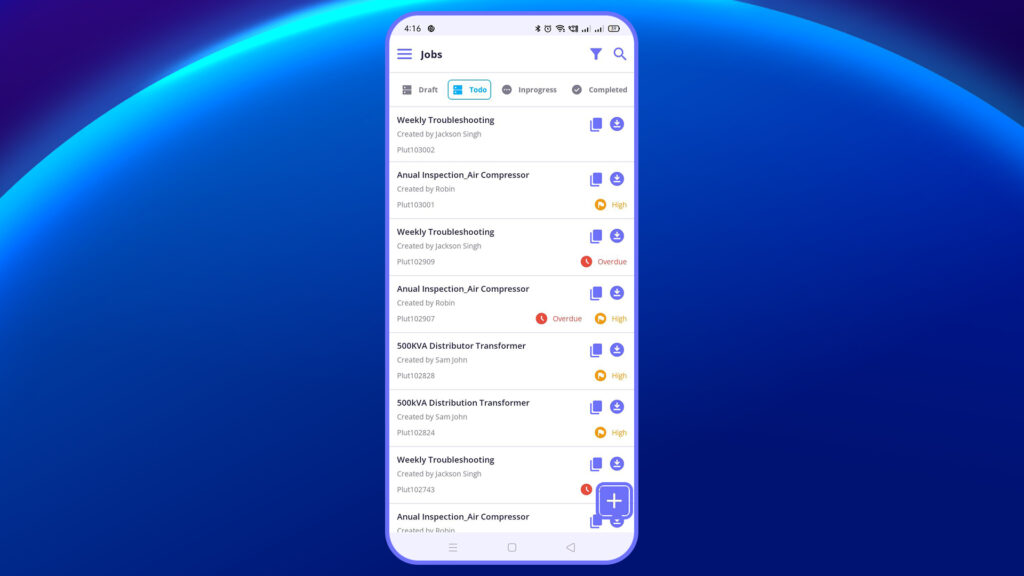
2. Tap the “+” Create Job button.
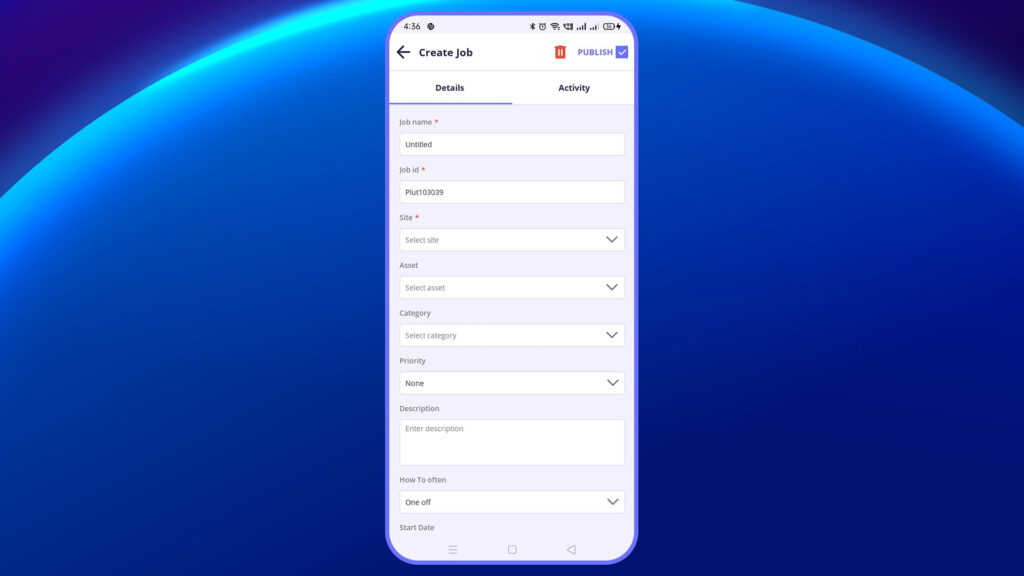
3. Under the Details tab, fill in:
- Job Name: Title or identifier of the job.
- Job ID: Auto-generated or manually set unique ID.
- Site: Select the location where the job needs to be executed.
- Asset: Choose the specific asset or equipment the job is related to.
- Category: Define the job category (e.g., Electrical, Safety, Maintenance).
- Priority: Choose the urgency (Low, Medium, High, Urgent).
- Description: Add detailed notes about the job.
- Start Date / End Date: Define the schedule or timeframe.
- How Often: Choose the frequency (One-Time, Daily, Weekly, Monthly).
4. Add Sections and Activities
You can divide a job into multiple sections, and each section can contain multiple activities like checklists, SOPs, or library files.
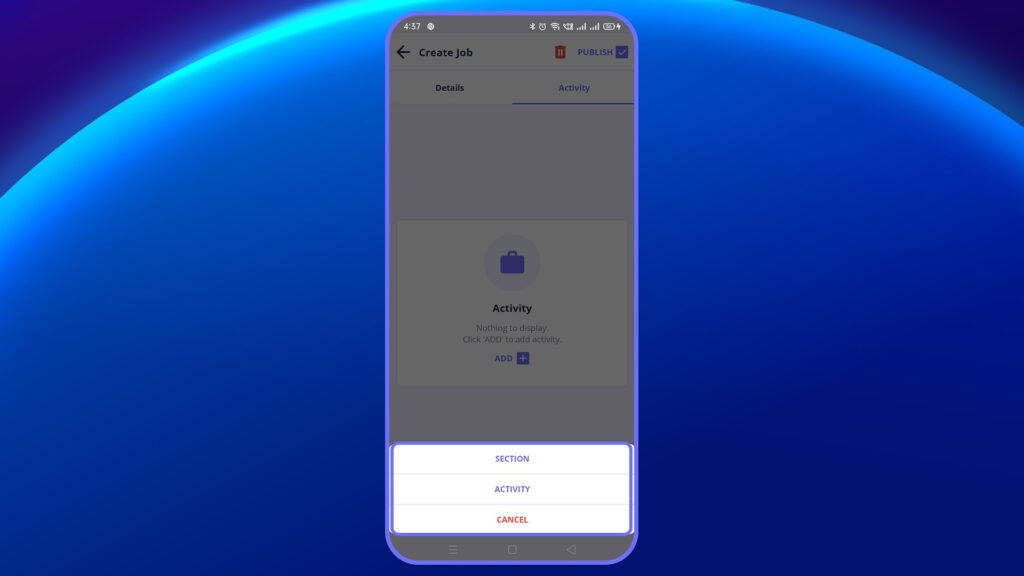
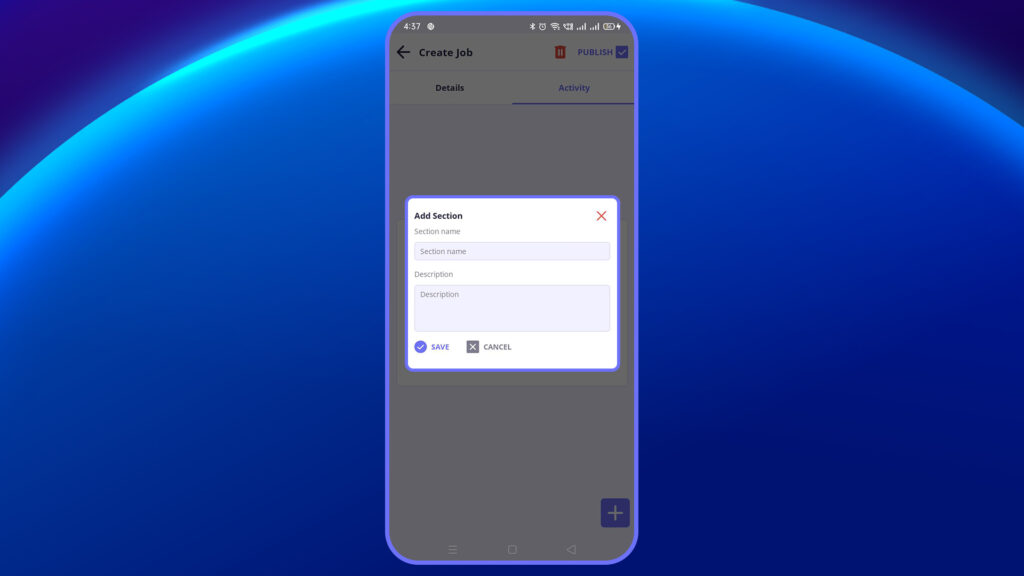
Add Section:
- Tap Add (+) > Select Section
- Fill in:
- Section Name: Logical grouping or header for activities.
- Description: Add context for what this section covers.
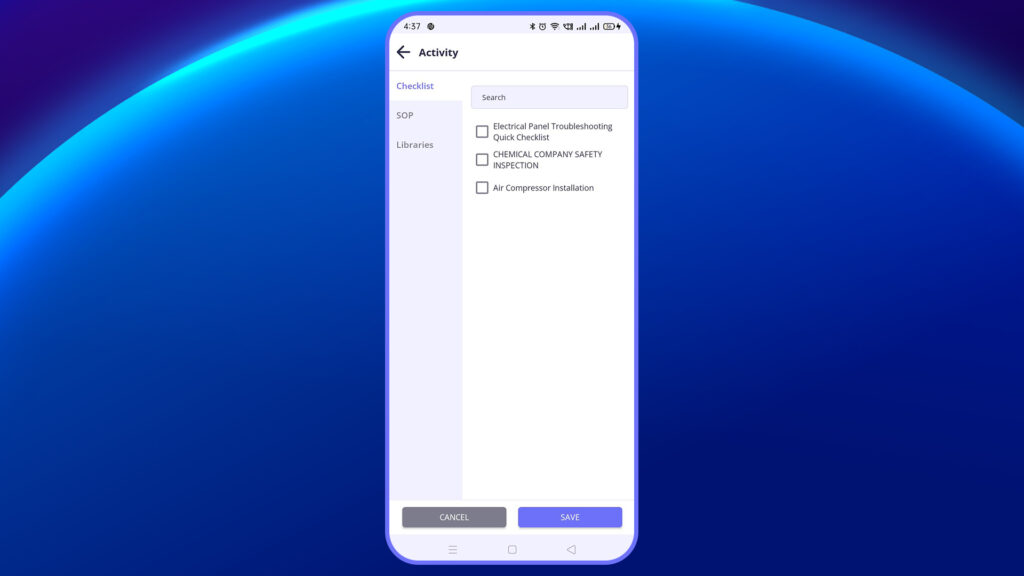
Add Activity:
- Tap Add (+) > Select Activity
- Choose Activity Type:
- Checklist: For yes/no or itemized inspections.
- SOP: For standard procedure-based activities.
- Library: For document or file-based activities.
- Select the relevant activity from the pre-created list.