This allows admins to create, edit, and delete categories. Each category can include multiple options, which can also be created, edited, or deleted individually.
Steps to Create a Category
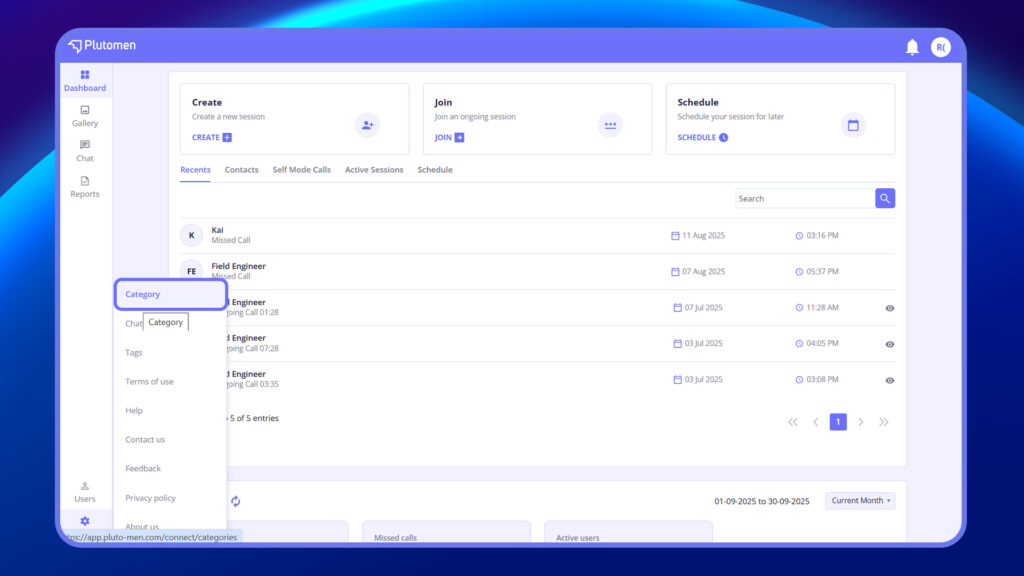
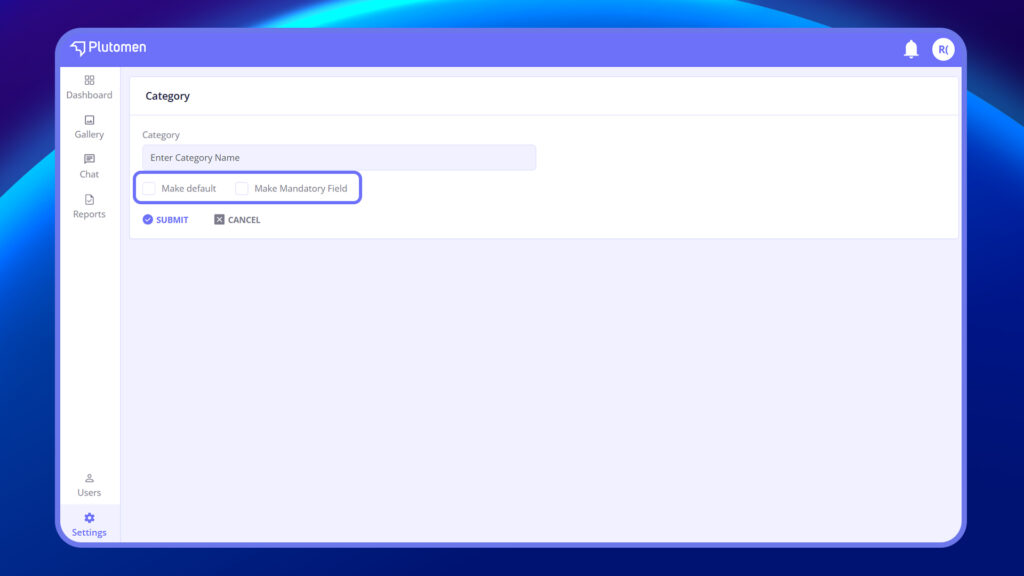
- Click on categories within settings at the bottom of the menu.
2. Click on + Create to create a new category.
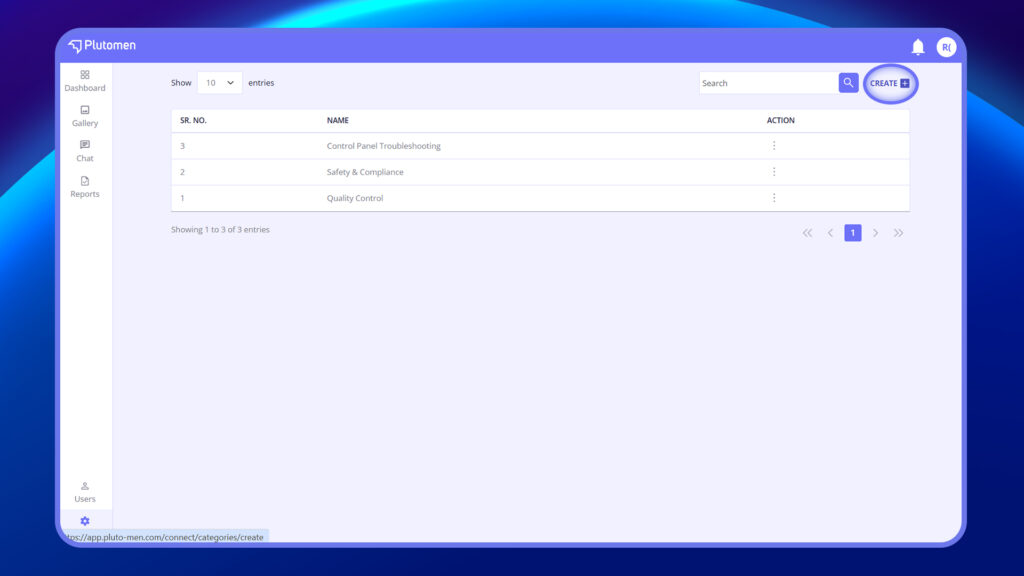
3. Name the category (Example: Location, Department, Customers), etc
4. Mark as Default: In case this option is selected, it means the user is mapped to everyone in the category.
5. Mark as mandatory. If selected, it will make mapping a user to a category mandatory.
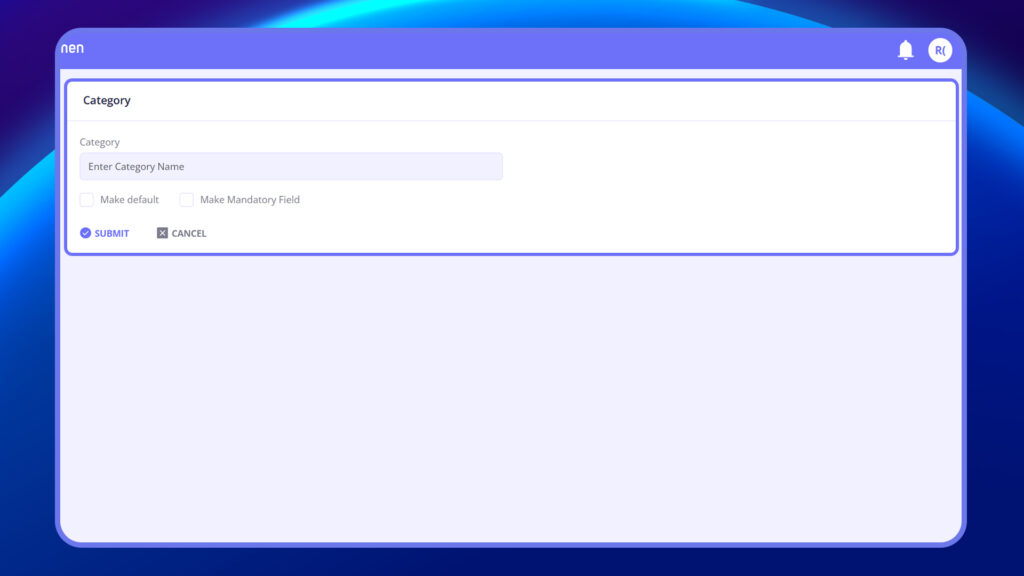
6. Click on Save to view the category in the category listing page.
Steps to Create Category Options
- Click on categories within settings at the bottom of the menu.

2. Select any category and click on the three-dot option next to the category.
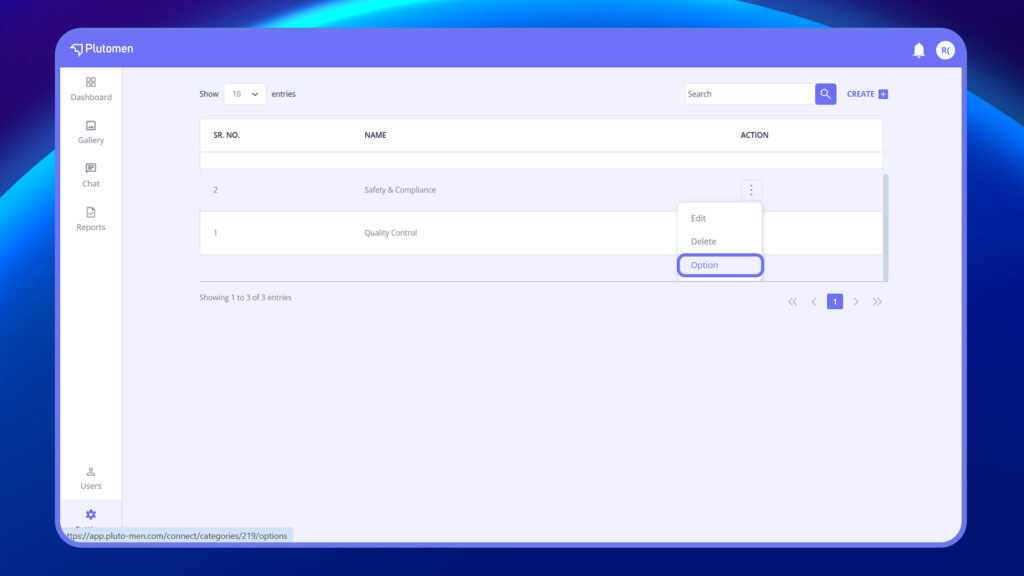
3. Click on the options to add an option.
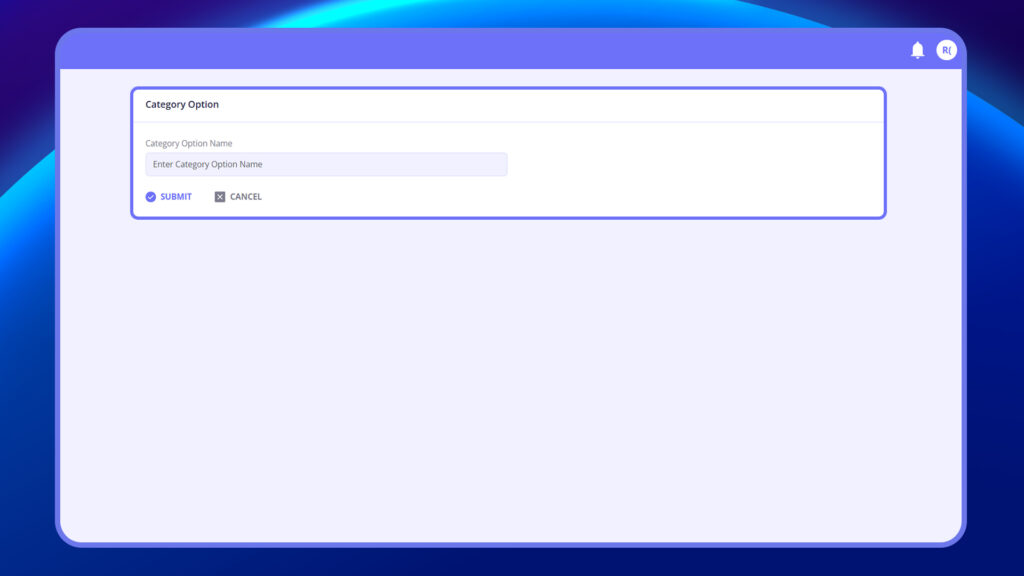
4. Once an option is added, it will reflect within the category.
Note:
When the ‘Mark as Default’ option is selected, it indicates that the user is mapped to everyone within the category. This means that there is no specific set of contact data tagged to the user within the category, and they have access to view and interact with all users.
On the other hand, if specific options such as department names or countries are created and users are mapped to those options, it implies that only users mapped to the particular option within the category will be visible in the contact book.
For example:
Users mapped with the tag ‘Sales’ will be able to view only other users mapped as ‘Sales’. Similarly, multiple options can be created to manage details of phone book visibility.
This provides a more targeted approach to organizing and accessing contacts, allowing users to view and interact with only those individuals who are relevant to their designated categories or criteria.”
Steps to Edit Category
- Go to Side menu >Settings > Category.
- Click the 3 dots next to the category.
- Select “Edit”.
- Update the name.
- Click “Save”.
Steps to Delete Category
- Go to Side menu > Settings > Category.
- Click the 3 dots next to the category.
- Select “Delete”.
- Confirm the action.


