Overview #
Sites allow you to track and manage the data captured during inspections effectively. By associating each site with specific details such as location, customer/site number, or site manager, you gain the ability to filter your reports and actions by site. This enables you to drill down into site-based trends, facilitating more targeted analysis and decision-making.
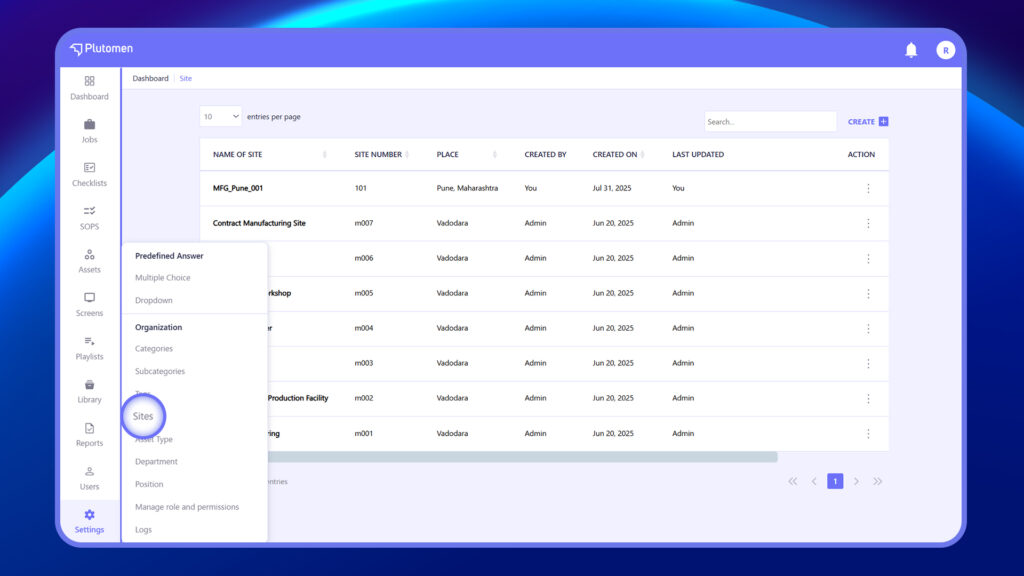
Where to Access Sites #
Go to Settings → Sites.
👉 Sites are managed under the Organization section in Settings.
How to Create a New Site #
Step 1: Access Sites #
Go to Settings → Sites.
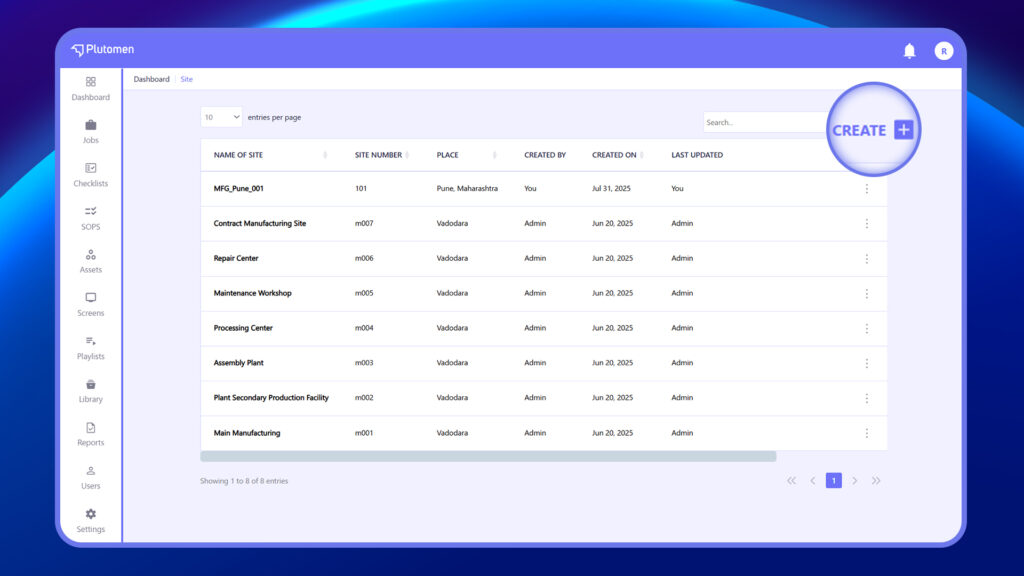
Step 2: Create Site #
Click Create
Step 3: Enter Site Details #
Provide the required information:
- Site Name
- Location
- Site No.

Step 4: Save Site #
Click Save to create the site.
👉 Use clear and standardized naming for easy identification.
How to Edit an Existing Site and Update Location Information #
Step 1: Open Sites
Go to Settings → Sites.
Step 2: Select Site
Choose the site you want to update.
Step 3: Click Edit
Use the three dots (⋮) menu, and select “Edit”.
Step 4: Update Details
Modify:
- Site Name
- Location
- Site No.
Step 5: Save Changes
Click Save
How to Delete a Site When It Is No Longer Required #
Step 1: Open Sites
Go to Settings → Sites.
Step 2: Select Site
Choose the site you want to delete.
Step 3: Click Delete
Use the three dots (⋮) menu, and select “Delete”.
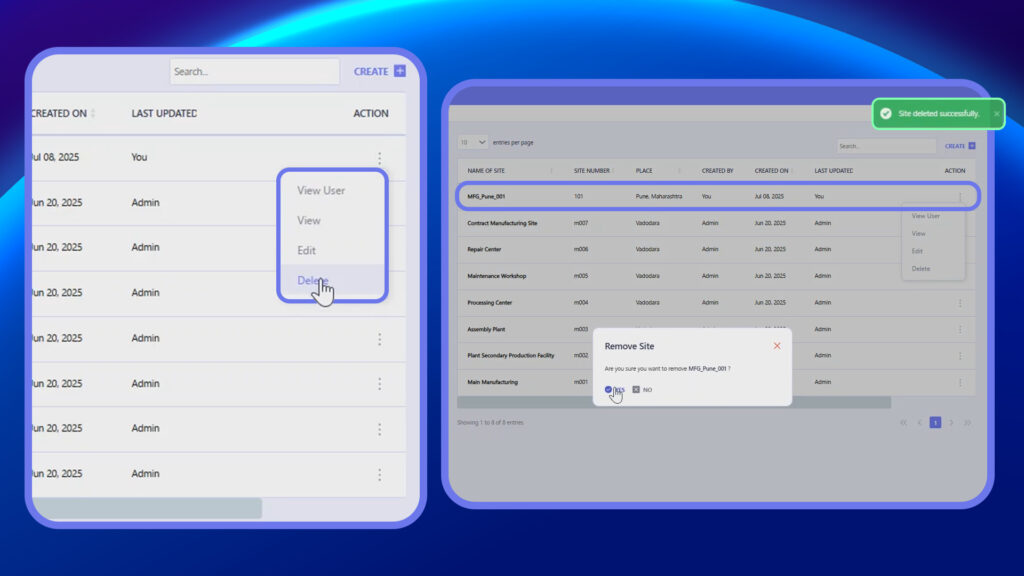
Step 4: Confirm Action
Confirm the deletion.
👉 Deleting a site may affect related jobs or assets assigned to it.
How to Use Sites While Creating Jobs or Managing Assets #
Step 1: Open Relevant Module
Go to Jobs or Assets
Step 2: Select Site Field
While creating or editing, locate the Site field.
Step 3: Choose Site
Select the appropriate site from the dropdown.
Step 4: Save
Click Save
👉 This helps map activities and assets to specific locations.
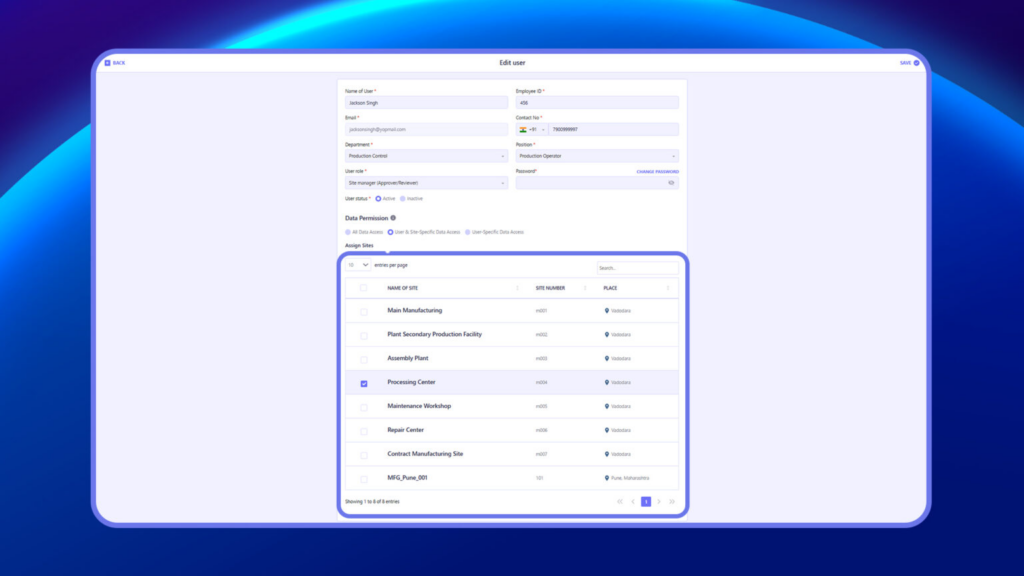
How to Assign a Site to a User While Creating or Updating User Details #
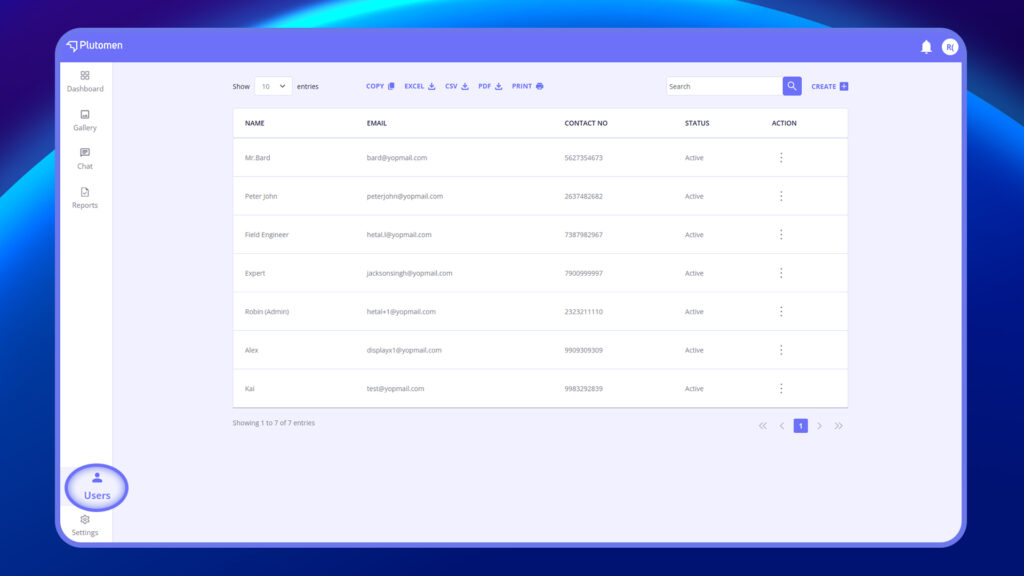
Step 1: Open Users Module
Go to Users from the sidebar.
Step 2: Create or Select User
Click Create User to add a new user
OR
Select an existing user from the list
Step 3: Locate Site Field
In the user form, find the Site dropdown.
Step 4: Select Site
Choose the appropriate Site from the list.
👉 This ensures the user is associated with the correct location.
Step 5: Save User
Click Save to apply the changes.


