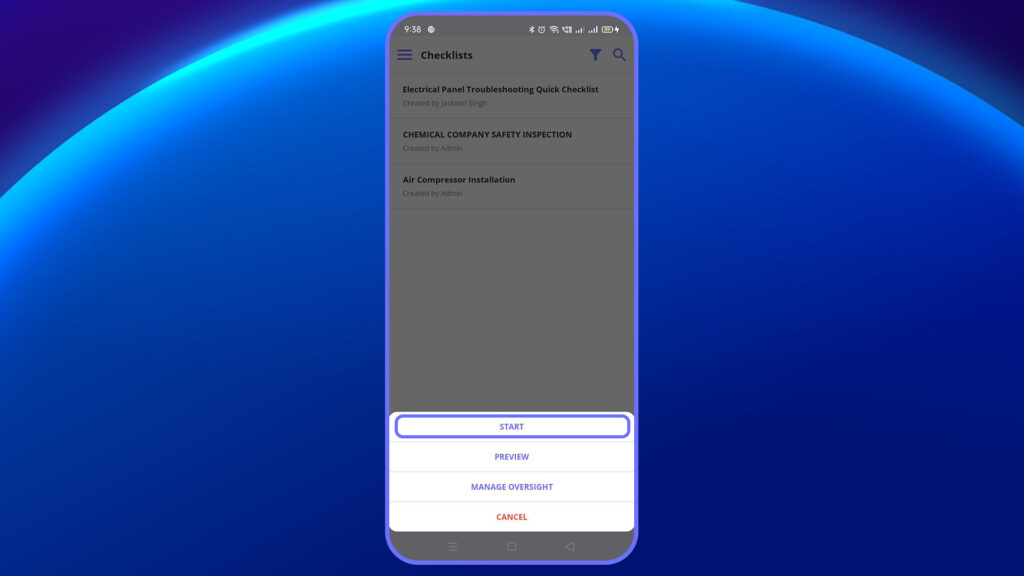
When you’re ready to begin executing a checklist, follow these steps from the Start Inspection screen:
Step-by-Step Process:
- Begin the inspection process by tapping the Start button.
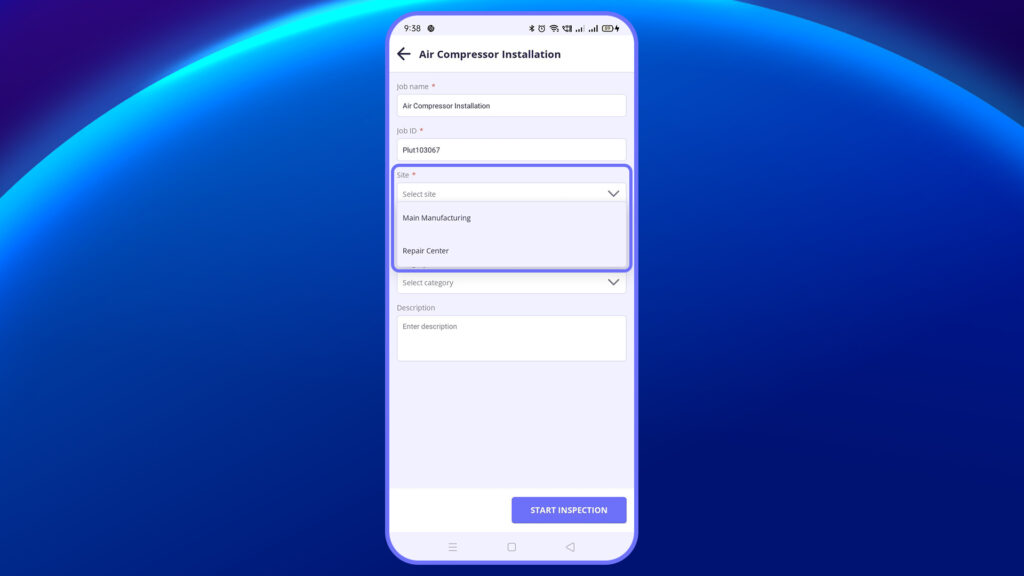
2. Fill Required Fields
- Site: Choose the location/site where the job is being performed.
- Asset: Select the equipment or asset the checklist is related to.
- Category: Pick the relevant inspection category (e.g., safety, electrical, etc.)
- Description: Enter a short description about the inspection task.
3. Tap “Start Inspection”
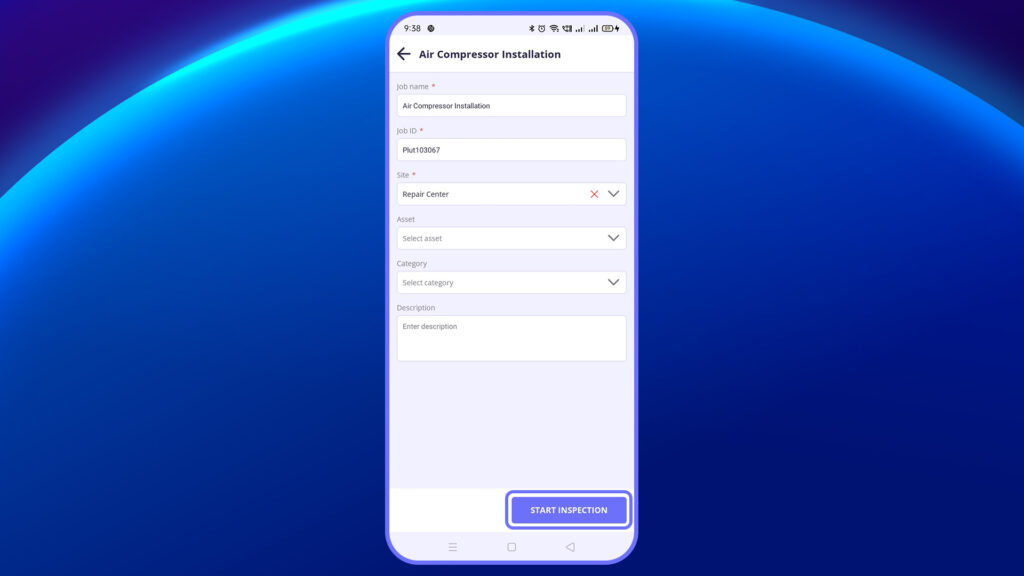
- Once all required fields are filled, tap the Start Inspection button at the bottom of the screen.
- This will initiate the inspection process and take you to the checklist execution view.
4. Now you’re in the checklist execution view.
You can:
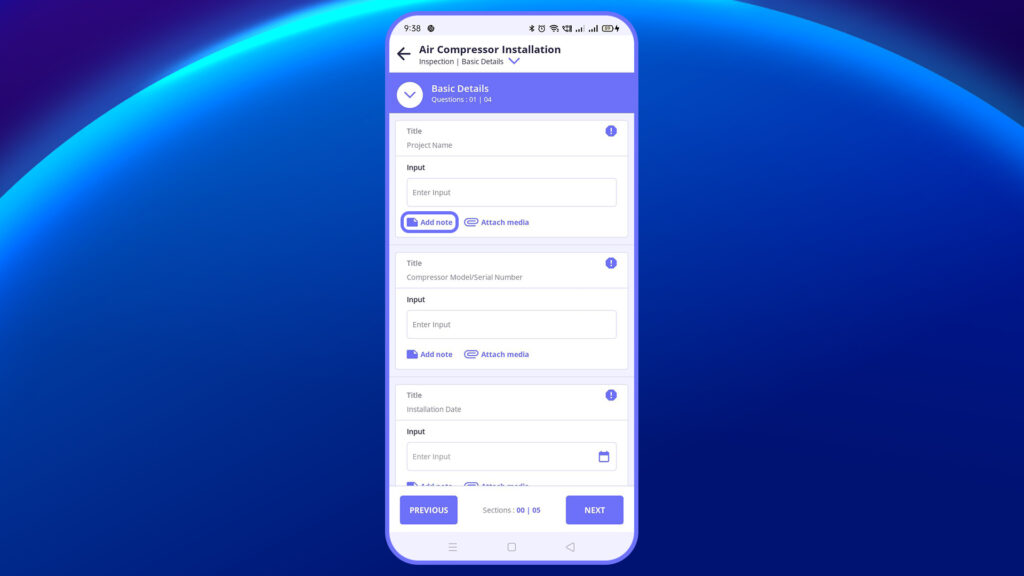
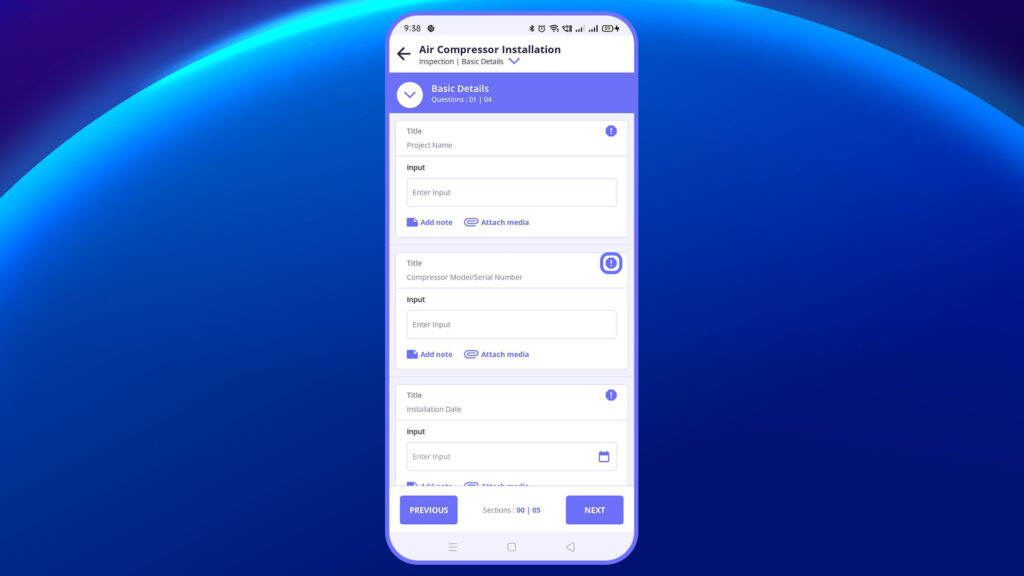
- Answer checklist questions
- Add rich context to each item through attachments and notes.
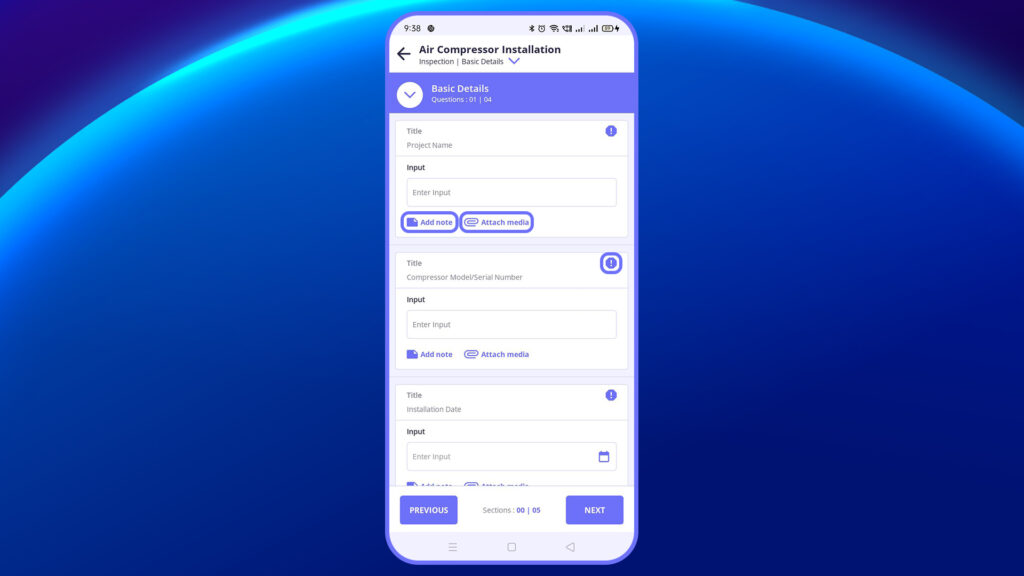
Attachments
Capture and upload images or documents to support each inspection item
Note
Use the Note section to log detailed observations or deviations during the inspection.
If an urgent issue is identified, tap Raise Action to create a corrective task immediately.
5. Request for Approval (Post Checklist Submission) After you complete the checklist:
Tap on Request for Approval.
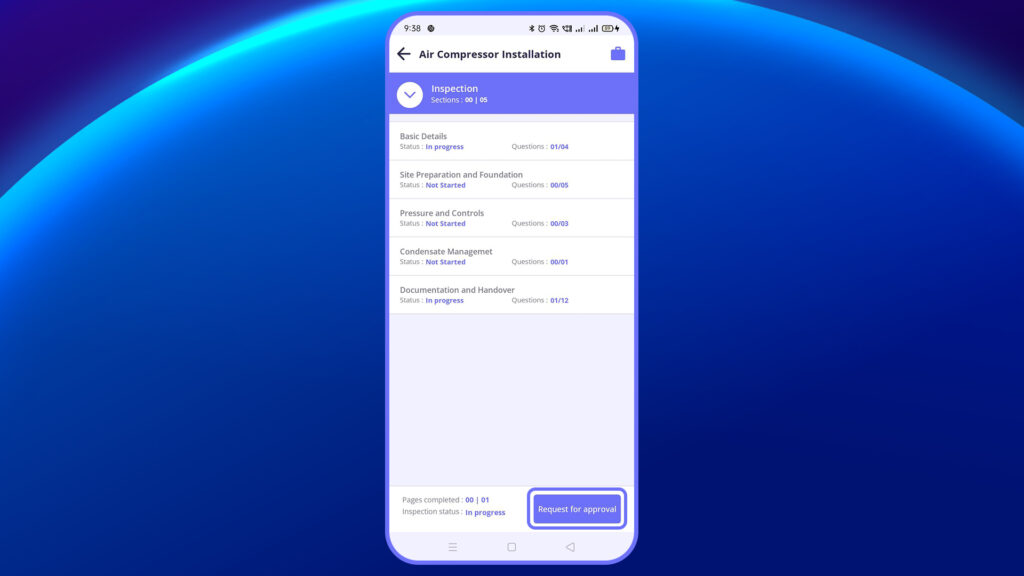
The status now changes to Under Review.
6. Status Change – After Approval
Once the checklist is approved:
The status changes to Approved.
You’ll be able to view the approved checklist under the Completed tab.
Note: Certain fields like Job Name, Job ID, Date & Time, and Location are automatically fetched by the system and cannot be edited by the user.
In this video, you will learn how to start an inspection from your assigned checklist.


